How to Import Data in Web App
If you are migrating data from an existing system or would like to add many entries, you can add them in bulk instead of importing data points one at a time using the Import Data feature.
Please follow the below instructions to import data into Zuper.
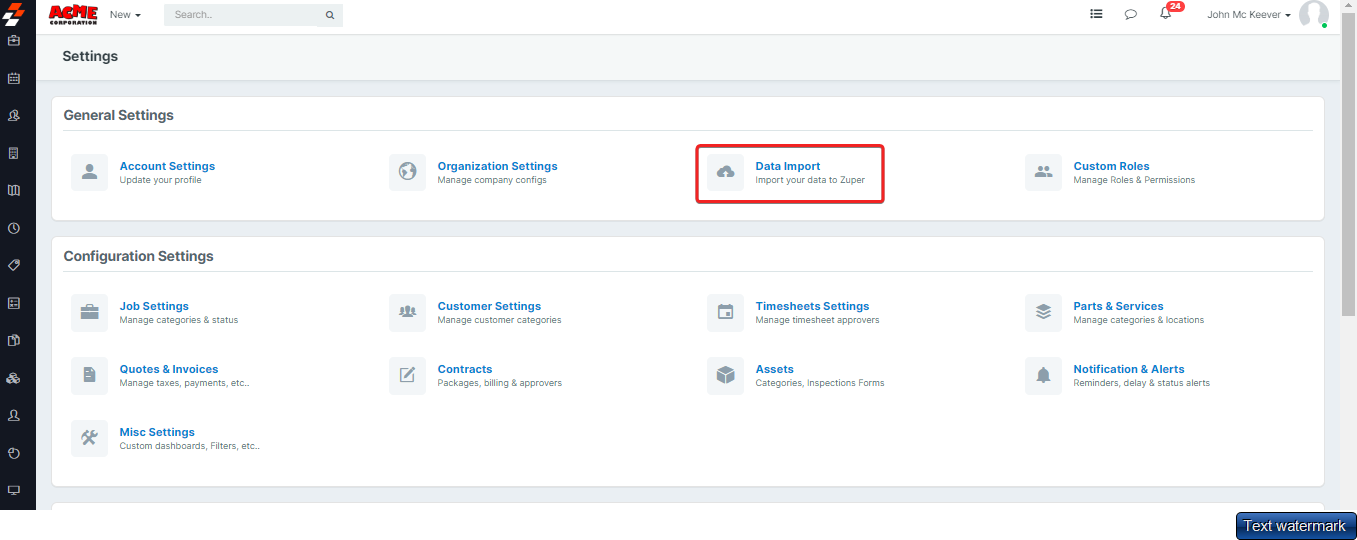
1. Go to the Settings option on the Menu.
2. Click on Data Import in the General Settings section.
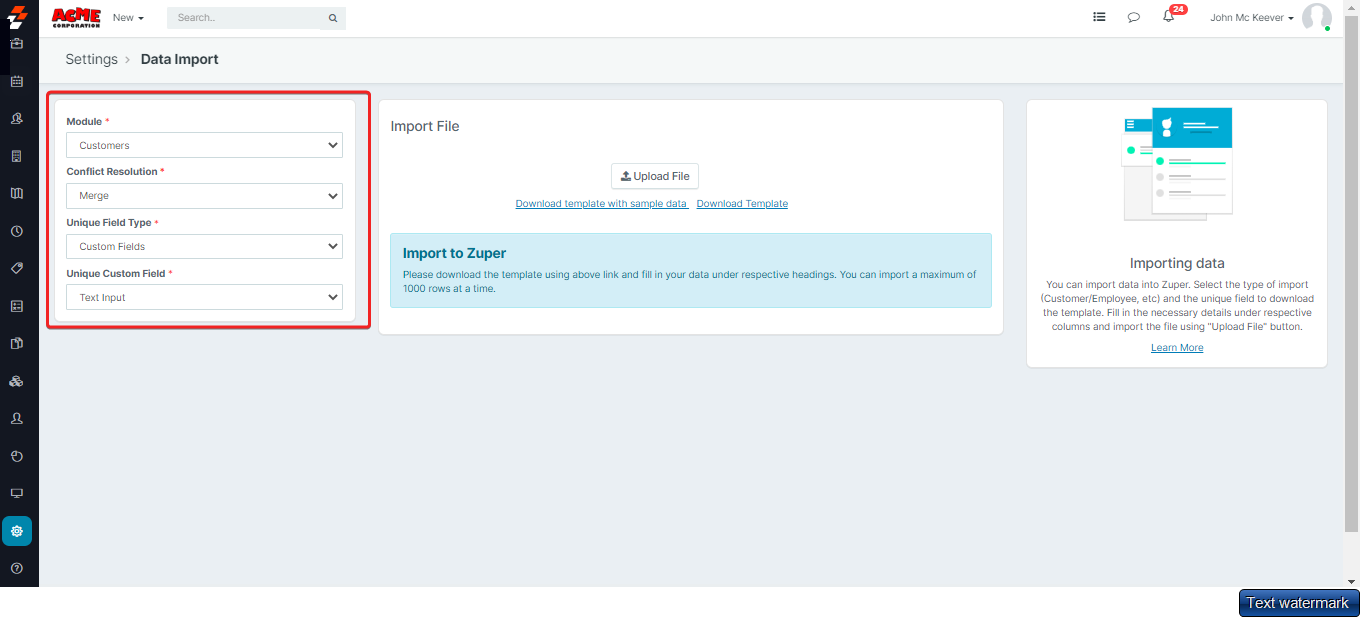
3. Choose the Module where you would like to upload data. Zuper currently supports bulk import in the following modules: Customers, Employees, Products, Assets, and Jobs.
4. Conflict Resolution helps to merge or skip the fields while uploading the data.
5. Once you have selected a specific module, use the Unique Field Type dropdown to prevent duplicate data entries. Make sure that the field you select doesn’t have any duplicates.
Note: In the dropdown, choose Default Fields if you want to use one of the built-in fields as the Unique Field Type. Choose Custom Fields if you would like to use one of the fields that are set by your Zuper Admin.
Once you have selected the Unique Field Type, it is time to narrow down your choice and mention the nature of the field you have selected for removing duplicate entries. Unique Field Check will help Zuper assess the distinct values under each entry in the selected field and validate data efficiently.
Note: Unique Field Check, i.e., Default Field Check and Unique Custom Field, is available only for certain modules like Customers, Assets, Employees, and Products. In cases like Job Import, there is no option for a unique field check.
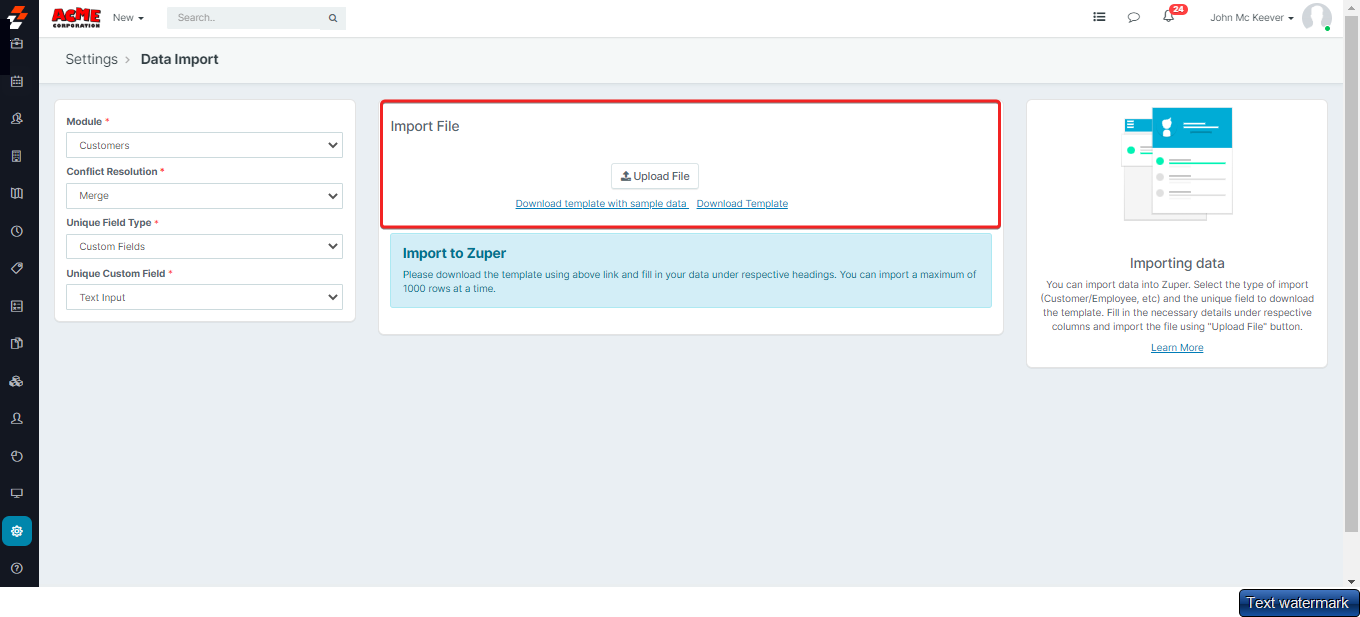
1. Click on the Download Template link and enter the corresponding data into respective columns in an excel sheet.
2. Note: The number of rows per sheet should not exceed 1000.
Once you have completed the data entry in the template, click Upload File and select the specific excel sheet that you need to upload.
3. When the file is successfully uploaded, you can see that all the entries available in your excel sheet will be automatically appended in the respective module.
Voila, your data import is complete! If you have any issues, do reach out to [email protected] in case of any queries. Our team is just an email away!